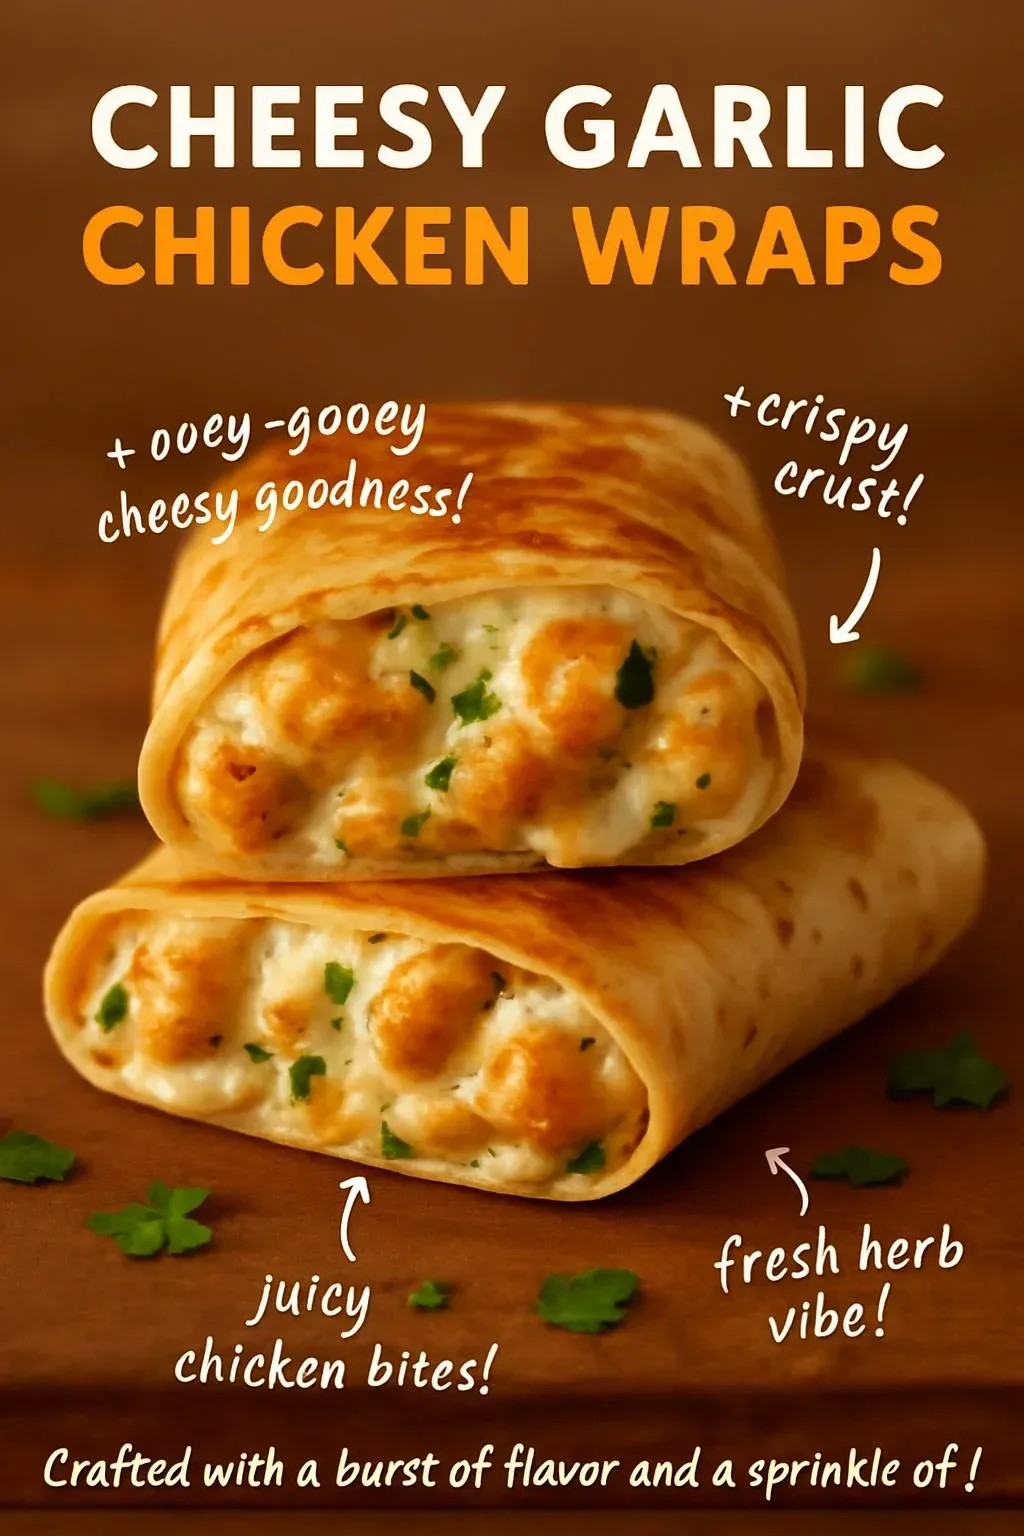
Cheesy Garlic Chicken Wraps are the kind of meal that feels like a warm hug on a busy weeknight. With tender chicken smothered in garlicky goodness, wrapped snugly in a crispy tortilla, this dish is not just quick but oh-so-satisfying. Perfect for those evenings when you need something easy that the whole family will love, these wraps bring comfort and flavor to your table. Let’s dive into why you’ll adore this recipe and how to whip it up!
Why You’ll Love This Dish
These Cheesy Garlic Chicken Wraps are packed with flavor and ready in no time, making them a fantastic choice for a weeknight dinner or a weekend get-together with friends. They’re easily customizable, perfect for using leftover chicken, and an absolute hit with both kids and adults. Plus, they’re budget-friendly, ensuring you won’t break the bank while serving up something delicious.
"These wraps were a total lifesaver for our busy week! Everyone loved them, and they were gone in minutes!"
Step-by-Step Overview
Making these wraps is as easy as pie! You’ll mix your chicken with flavorful garlic aioli, toss in some cheesy goodness, and then roll it all up in soft tortillas. It’s a straightforward process that results in a comforting meal everyone will devour.

What You’ll Need
Gather these items to make your Cheesy Garlic Chicken Wraps:
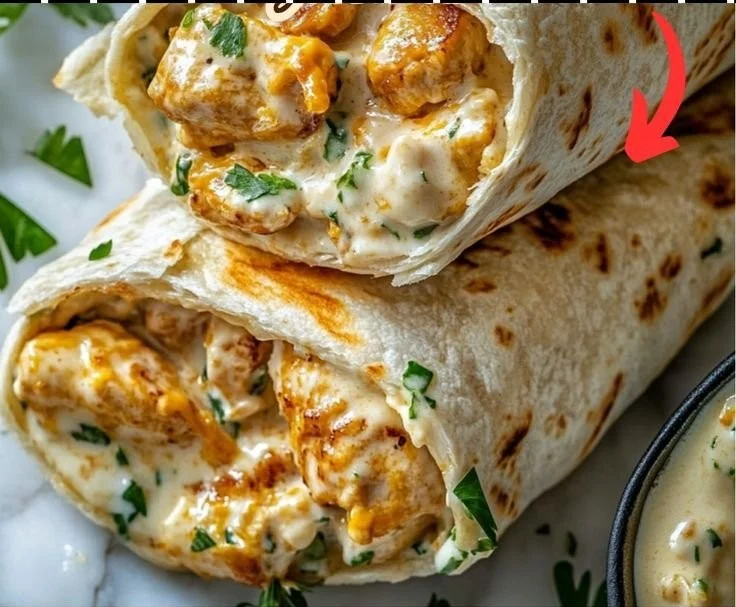
- 2 cups cooked chicken (shredded)
- 1/2 cup garlic aioli
- 1 cup cheddar cheese (shredded)
- 4 large tortillas
- Salt and pepper to taste
Feel free to switch up the cheese with something like Monterey Jack or pepper jack for an extra kick!
Directions to Follow
- In a large mixing bowl, combine the shredded chicken and garlic aioli, making sure every piece is coated.
- Add in the shredded cheddar cheese and season with salt and pepper. Mix until well combined.
- Lay a tortilla on a flat surface and spoon a generous amount of the chicken mixture onto the center.
- Fold the sides of the tortilla inwards, then roll it up from the bottom, securing the filling inside. Repeat with remaining tortillas.
- Heat a skillet over medium heat and place wraps seam-side down. Cook until golden and crispy, about 3-4 minutes per side.
- Remove from pan, cool for a minute, then slice in half and serve warm.
These steps are straightforward, making it easy to involve your little chefs in the kitchen!
Best Ways to Enjoy It
Serve these wraps warm, alongside a crisp green salad or some homemade fries for true comfort food bliss. Consider adding a side of ranch or a spicy salsa for dipping. Want to dress them up a little? Fresh herbs like cilantro or chives can add a refreshing touch.
Storage and Reheating Tips
Got leftovers? No problem! Wrap them in foil or store them in an airtight container in the fridge for up to three days. When you’re ready to eat, simply reheat in a skillet for a few minutes to maintain that crispy exterior.
Helpful Cooking Tips
For even faster prep, shred your chicken ahead of time or use a store-bought rotisserie chicken. This makes putting the wraps together a breeze. Also, keep an eye on the skillet while cooking—every stove is different, and you want to avoid burning those tasty wraps!
Flavor Swaps
Feel free to get creative! Swap out the garlic aioli for buffalo sauce, BBQ sauce, or even a creamy ranch for a different flavor profile. Adding veggies like spinach, bell peppers, or mushrooms can elevate the nutrition and add some crunch.
Your Questions Answered
How long do these wraps take to make?
From prep to plate, you can have these delicious wraps ready in about 30 minutes!
Can I make these wraps gluten-free?
Absolutely! Just switch out the tortillas for your favorite gluten-free variety, and you’re good to go.
What can I use instead of garlic aioli?
No garlic aioli? No worries! You can mix mayonnaise with minced garlic and a squeeze of lemon juice for a quick substitute.
No matter how you choose to enjoy them, these Cheesy Garlic Chicken Wraps are sure to become a family favorite! So roll up your sleeves and let’s get cooking!